 Save to Pinterest
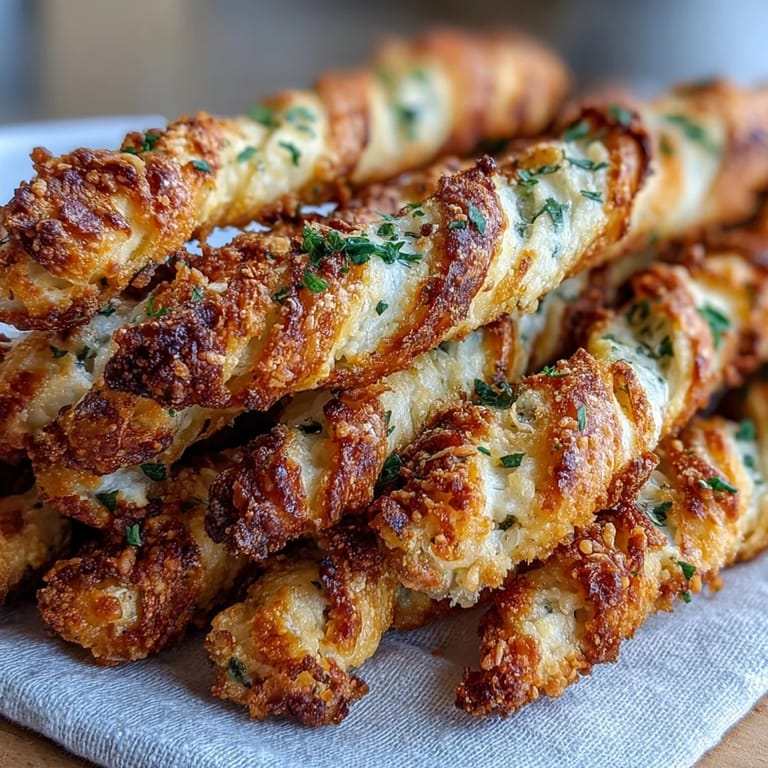
 My neighbor showed up at my kitchen door one May afternoon with a box of these cheese straws, and I nearly fell over from the buttery, salty-spicy hit of them. She'd made them for Derby Day, she said, watching the races from her porch with a mint julep in hand. One bite and I was demanding the recipe, which turned out to be delightfully simple—just a food processor, cold butter, and cheese that you'd probably already have stocked. Now I make them constantly, less for the races and more because they disappear faster than I can bake them.
Last summer, I twisted half the batch on a whim while waiting for the oven to preheat, and my partner walked in to find me laughing at myself, arms dusted in flour, holding what looked like cheese-flavored DNA helixes. Those twisted ones became his favorite, though they bake maybe two minutes faster than the straight ones, which he always forget about. Now I twist every other straw almost reflexively, mostly because watching someone's face light up when they recognize the little detail is worth the extra five minutes of work.
Ingredients
- Sharp cheddar cheese, freshly grated: Use a box grater and grate it fresh right before you mix—pre-shredded cheese has anti-caking agents that prevent the dough from holding together properly.
- Parmesan cheese, finely grated: The aged sharpness cuts through the richness and keeps these from tasting one-note; a microplane works beautifully here.
- Unsalted butter, cold and cubed: Cold butter is non-negotiable—it creates those pockets that turn into flaky layers when they bake, so cut it into cubes and keep it in the fridge until the last moment.
- All-purpose flour: Nothing fancy needed, but measure by weight if you have a scale, as it's more reliable than scooping.
- Cayenne pepper: Start with the ½ teaspoon and taste the raw dough (yes, raw is safe here), then adjust if you want more kick—it intensifies slightly in the oven.
- Fine sea salt and freshly ground black pepper: These seem like background players, but they amplify the cheese and keep the cayenne from being the only note you taste.
- Cold water, optional: Add this only if your dough refuses to come together; humidity varies by season, so sometimes you need it and sometimes you don't.
Tired of Takeout? 🥡
Get 10 meals you can make faster than delivery arrives. Seriously.
One email. No spam. Unsubscribe anytime.
Instructions
- Get your mise en place ready:
- Preheat the oven to 375°F and line your baking sheet with parchment paper so you're not scrambling when the dough is ready to go. Grate both cheeses fresh and cube the butter, keeping it cold—this matters more than you'd think.
- Build the dough in pulses:
- Put the cheddar, Parmesan, flour, cayenne, salt, and pepper into the food processor and pulse a few times until everything looks evenly mixed. Add the cold butter cubes and pulse again until the mixture looks like damp sand or coarse breadcrumbs—you want visible butter pieces still visible, not a smooth paste.
- Bring it together gently:
- If the dough is too dry and won't hold together when you squeeze a handful, sprinkle in cold water a tablespoon at a time and pulse gently until it just barely comes together. Over-mixing develops gluten and makes them tough, so stop as soon as it holds a shape.
- Roll out your rectangle:
- Dust your counter lightly with flour and turn the dough out onto it, then roll it into a thin rectangle about ¼ inch thick—you want them crispy, not cakey. Use a ruler or straight edge if you're feeling precise, or just eyeball it; this isn't cake decorating.
- Cut and arrange:
- Cut the dough into strips about ½ inch wide and 6 inches long—a pastry wheel works great for this, but a sharp knife is fine too. Space them slightly apart on the baking sheet so they can crisp up all over, or twist them gently if you're feeling fancy.
- Bake until golden:
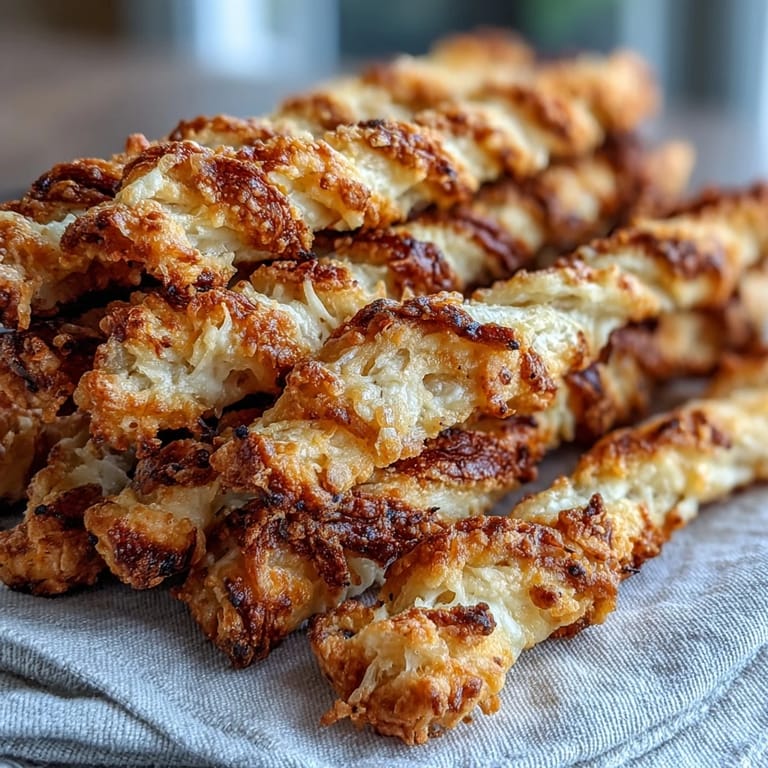
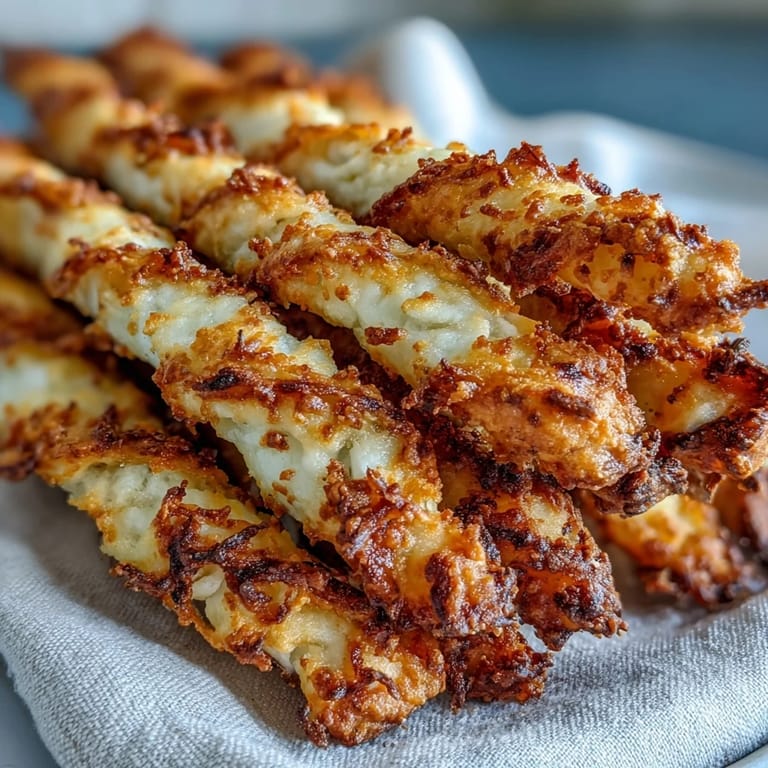
- Bake for 12 to 15 minutes, watching them after the 10-minute mark because ovens vary wildly and burnt cheese straws are a tragedy. You want them a deep golden brown, not pale, or they'll be soft instead of crispy.
- Cool with patience:
- Let them sit on the baking sheet for about 5 minutes—they'll continue to crisp up from residual heat. Then transfer them to a wire rack to cool the rest of the way.
 Save to Pinterest
 My sister brought her new boyfriend to a family gathering once, and I set out a plate of these still warm from the oven. He ate seven in a row without saying a word, then looked up sheepishly and asked if I'd sell him a batch. They got married two years later, and I like to think cheese straws played at least a small role in that story.
Flavor Variations You Can Play With
Once you nail the basic version, the fun begins—I've added smoked paprika for a subtle campfire note, stirred in a few chopped fresh rosemary leaves for an herbaceous twist, and even cracked in some cracked black pepper for visible texture. A tiny pinch of garlic powder works too if you want them savory rather than simply cheesy, though go easy because it can taste powdery if you overdo it. The beauty is that the buttery dough is a blank canvas, so don't be afraid to experiment once you've made them a time or two.
Storage and Make-Ahead Magic
These keep in an airtight container for about four days, though they'll soften slightly after day two—refreshing them in a 300°F oven for five minutes brings back the crispness beautifully. You can also freeze the rolled, cut dough on a baking sheet, then bake directly from frozen, adding just a couple extra minutes to the bake time. I love having a sheet of unbaked straws in the freezer so I can bake fresh ones whenever I want to feel like a competent host without any actual effort.
Serving and Pairing Ideas
These are perfect alongside a mint julep on a porch on a warm afternoon, but they're equally at home at a casual dinner party, a book club, or even tucked into a lunchbox as a surprise treat. I've served them with everything from whipped herb cheese to hot sauce for dipping, though honestly they need nothing—they're complete as they are. Here's what makes them versatile:
- They're vegetarian and easily gluten-free if you swap the flour and find a gf-friendly Worcestershire or acid for tang.
- Make them ahead of time, so you can focus on actually enjoying your guests instead of stress-baking in the kitchen.
- One batch makes about 24 straws, which is enough for four or five people as part of a spread, or about two people if you serve them as the main snack.
 Save to Pinterest
 These cheese straws have a way of turning an ordinary afternoon into something worth remembering. Make them, serve them with confidence, and watch how quickly they vanish.
Recipe FAQs
- → What cheeses are used for flavor?
Sharp cheddar provides a robust base, while Parmesan adds a nutty depth that enhances the overall flavor.
- → How does cayenne affect the taste?
Cayenne delivers a gentle spiciness that balances the rich, buttery profile, offering a subtle heat without overpowering.
- → Can the straws be shaped differently?
Yes, you can twist the cut strips for a decorative appearance that also adds a varied texture.
- → What is the ideal baking time and temperature?
Bake at 375°F (190°C) for 12 to 15 minutes until the straws turn golden and crisp.
- → Are there any tips for extra flavor?
Sprinkling smoked paprika on top before baking introduces a smoky dimension, enhancing the savory taste.