 Save to Pinterest
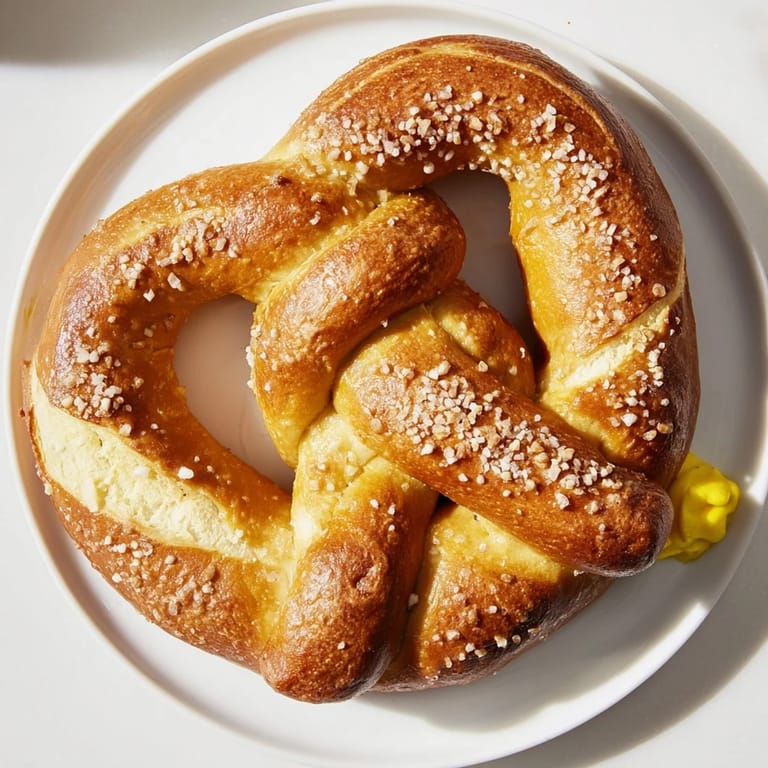
 The first time I made soft pretzels at home, I was intimidated by the baking soda bath—it seemed like a chemistry experiment rather than cooking. But the moment I pulled that first golden pretzel from the water, twisted it into shape, and watched it puff up in the oven, I understood why these have been a beloved snack for centuries. There's something almost magical about how the baking soda transforms the dough's surface into that distinctive chewy, darkened crust. Now they're my go-to when I want to impress people without spending hours in the kitchen, and honestly, the smell alone is worth the effort.
I remember making these for a casual game night, and my partner kept sneaking them straight from the cooling rack before I could even plate them. The whole apartment smelled like a pretzel stand, and somehow that made everyone stay longer and eat more. That's when I realized soft pretzels aren't just about the food—they're about creating a moment where people slow down and actually enjoy something warm and real together.
Ingredients
- Bread flour: This high-protein flour gives pretzels their signature chew; all-purpose works in a pinch, but bread flour really makes the difference in texture.
- Active dry yeast: Room-temperature water activates it best, and that 5-minute foaming step tells you the yeast is alive and ready to do its job.
- Warm water: Too hot kills the yeast, too cold and it won't rise; aim for the temperature of a comfortable bath.
- Kosher salt in dough: Use fine kosher salt so it dissolves evenly and seasons the dough from within.
- Unsalted butter: Adds richness without over-salting; melted butter incorporates more smoothly than cold.
- Baking soda bath: This is the secret weapon—it's what creates that brown, chewy exterior that makes them taste like a real pretzel.
- Egg wash: Beaten egg yolk brushed on before baking gives that glossy, professional-looking finish.
- Coarse pretzel salt: This won't dissolve into the dough; it stays on top where it crunches and seasons every bite, and it tastes different from regular table salt.
- Mustard for serving: Tangy yellow or spicy brown complements the salty, chewy pretzel perfectly.
Tired of Takeout? 🥡
Get 10 meals you can make faster than delivery arrives. Seriously.
One email. No spam. Unsubscribe anytime.
Instructions
- Wake up the yeast:
- Combine warm water, sugar, and yeast in a large bowl and let it sit for 5 minutes—you'll see it get foamy and smell slightly sweet, which means it's alive and ready. This step takes the guesswork out of whether your yeast will work.
- Build the dough:
- Add melted butter and salt to the yeast mixture, then stir in flour one cup at a time until a shaggy dough comes together. It'll look rough and sticky at first, but that's exactly right.
- Knead until smooth:
- Turn it onto a floured surface and knead for 5 to 7 minutes—your hands will feel the dough transform from rough to smooth and elastic, almost like it's become alive. Stop when it springs back gently when you poke it.
- Let it rise:
- Pop the dough in a lightly oiled bowl, cover it with a towel, and let it sit in a warm spot (like on top of your warm oven or in a turned-off oven with the light on) for about 1 hour until it's roughly doubled in size. This is when you can prep your workspace and get everything else ready.
- Prepare for baking:
- While the dough rises, preheat your oven to 450°F and line two baking sheets with parchment paper—this prevents sticking and makes cleanup easier. Also fill a large pot with 10 cups of water and set it on the stove so it'll be ready to boil.
- Boil the baking soda water:
- Bring the water and baking soda to a rolling boil just before you shape the pretzels—you want the bath hot when you use it. The baking soda will fizz slightly as it dissolves, which is normal.
- Shape the pretzels:
- Punch down the risen dough and divide it into 8 equal pieces—I use a bench scraper to divide evenly. Roll each piece into a long rope about 20 to 22 inches, then form it into a U shape, twist the two ends around each other twice, and fold the twisted part down and over to create that classic pretzel shape.
- The baking soda bath:
- This is the magic step—carefully lower each pretzel into the boiling baking soda water using tongs or a slotted spatula, let it sit for about 30 seconds (it'll sink, then float), and pull it out before the edges get too dark. The dough will look darker and feel different, almost waxy—that's perfect and exactly what you want.
- Finish and bake:
- Place each pretzel on your parchment-lined baking sheet, brush generously with egg wash using a pastry brush, and sprinkle coarse salt all over while the wash is still wet so it sticks. Bake for 12 to 15 minutes until they're deep golden brown—they'll puff up and smell incredible.
- Cool and serve:
- Let them cool for just a few minutes on a wire rack so the bottom doesn't get soggy, then serve them warm with your favorite mustard. They're best eaten the same day but can be reheated gently the next morning.
 Save to Pinterest
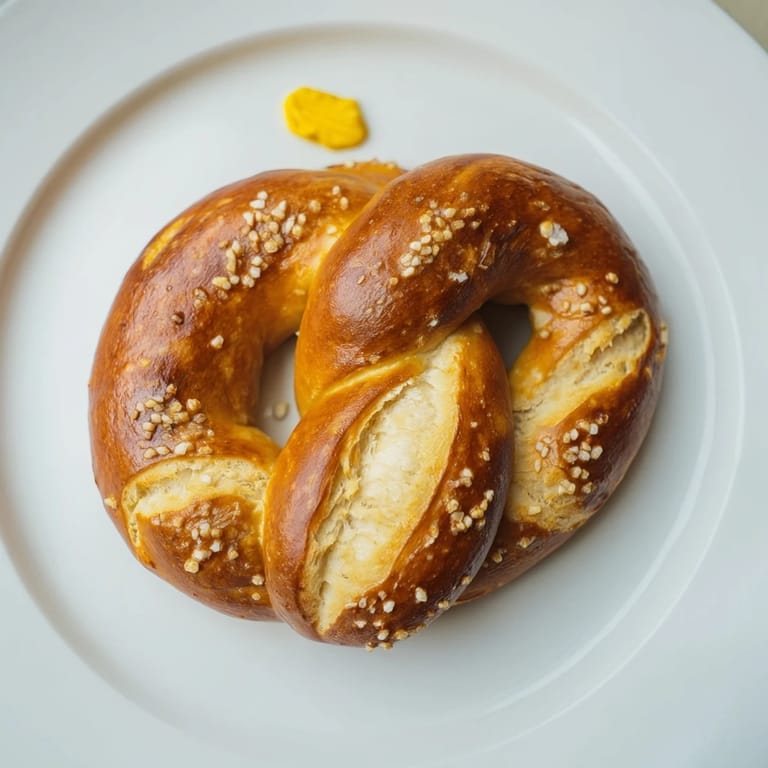
 There was an afternoon when my daughter helped me shape these, and she made one that looked absolutely nothing like a pretzel—more like a lumpy blob—but we baked it anyway. When it came out of the oven looking golden and perfect, she claimed it was her masterpiece, and honestly, it tasted just as good as the neat ones I'd made. That's when I realized pretzel-making is forgiving and fun, and the misshapen ones have just as much charm.
Why the Baking Soda Bath Changes Everything
The baking soda bath is what separates a pretzel from a bread roll, and I learned this the hard way by skipping it once. Without it, you get a soft, pale bread—with it, you get that distinctive dark brown, chewy exterior that sticks to your teeth in the best way. The baking soda raises the pH of the dough's surface, which allows the Maillard reaction to happen faster and more dramatically, creating that authentic pretzel crust and taste you can't replicate any other way.
Shaping and Rising: The Patient Parts
The rising time feels long when you're hungry, but it's when all the yeast magic happens, and it's worth the wait because it makes the dough easier to shape and gives you a lighter crumb. If your kitchen is cold, the rise might take longer—I've learned to just let it go until it's clearly doubled, rather than rushing based on a timer. You can also do a slow rise in the refrigerator overnight if that fits your schedule better, which actually makes the dough easier to handle and gives deeper flavor.
Variations and Serving Ideas
Once you've mastered the basic salted pretzel, these are endlessly customizable, and I love experimenting with toppings based on my mood or what I'm serving them with. You can skip the salt and brush them with melted butter and cinnamon sugar for a sweeter version, or top them with sesame seeds, poppy seeds, or even everything bagel seasoning before baking. Some nights I serve them with spicy brown mustard, other times with a sharp cheese sauce or honey mustard, and they're equally delicious.
- Make a cinnamon sugar version by brushing baked pretzels with melted butter and sprinkling with cinnamon and sugar while warm.
- Try everything bagel seasoning, sesame seeds, or poppy seeds sprinkled on along with the salt for extra flavor and texture.
- Serve with sharp cheddar cheese sauce, honey mustard, or even a beer cheese dip for a fun twist on the classic mustard pairing.
 Save to Pinterest
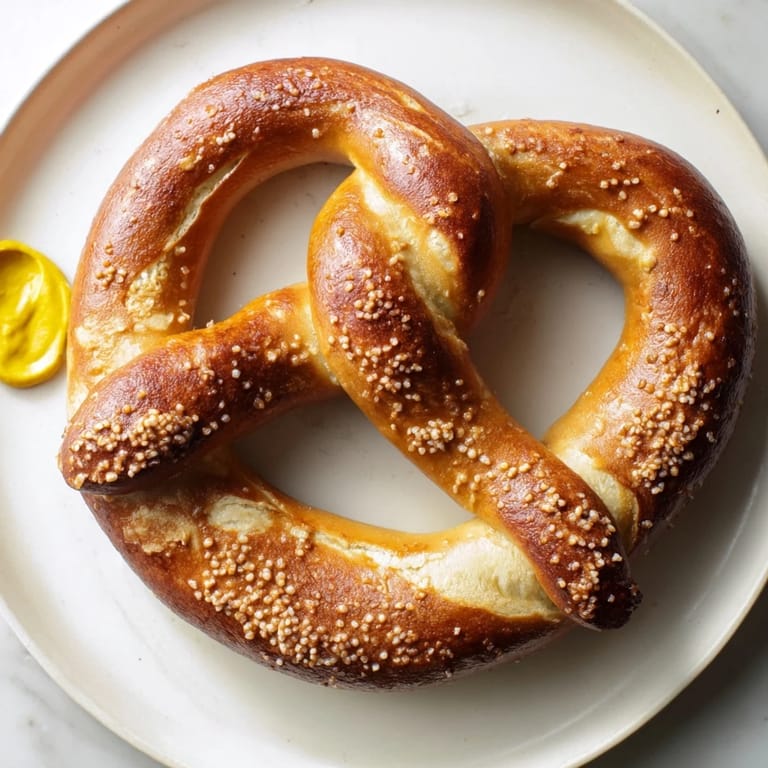
 These pretzels have become my favorite thing to make when I want to feel like I'm running a proper kitchen, and they're so much better than anything store-bought. Once you've tasted a warm, freshly-made pretzel straight from your own oven, there's really no going back.
Recipe FAQs
- → How does the baking soda bath affect the pretzels?
Dipping the dough in a boiling baking soda bath before baking creates the signature chewy crust and deep golden color associated with soft pretzels.
- → What is the best flour to use for these pretzels?
Bread flour is ideal due to its higher protein content, which helps develop the chewy texture typical of soft pretzels.
- → Can I add toppings other than coarse salt?
Yes, sesame seeds, poppy seeds, or even a cinnamon sugar glaze after baking offer delicious variations to the classic topping.
- → Why is the dough left to rise for an hour?
Allowing the dough to rise until doubled creates a light, airy crumb and helps develop the flavor and texture of the pretzels.
- → What is the role of egg wash before baking?
Brushing egg wash on the shaped pretzels promotes a shiny, golden crust and helps coarse salt stick to the surface during baking.